It's been a long time since I've updated the blog, due to a combination of available time, but also because the first few years of ownership were a flurry of renovations and improvements. I had reached a point where Wireless didn't 'need' a lot. I had addressed all of the 'must-haves' and life didn't allow for many 'want-to-haves'.
Well, the time has come to admit that the deck surfaces can no longer be rejuvenated with polish. The gelcoat is dull and chalky, and more importantly, it has many spider cracks from becoming brittle under the New Zealand sun. My 2014 deck project was focused on the teak work, re-bedding fittings, and a good surface polish.
 |
| Spiders cracks evident around grab rails. |
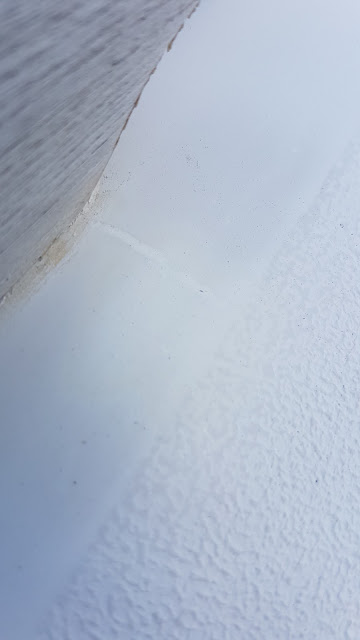
In preparation, I have gone over the deck identifying and fixing imperfections and the spider cracking. To give the crack repairs a fighting chance, I enlarged them with a ball tip cutter on my Dremel tool.
This now gave me the ability to get some Epifill to stick. This product is easy to mix and also sands easily. Because it is epoxy-based, it sticks tenaciously and is water proof and durable.
I'm afraid I don't have before photos of the spider cracks, but you can imagine they radiated out from stress points like deck fittings, and particularly in the cockpit sole. I'll take a battery of photos moving forward.
So the next step, now that I have sanded the Epifill, is to look for areas that may need a 2nd application. After that I'll follow this process:
- Select area to paint (I'm going to break it down into sectors to make it manageable)
- Thoroughly wash this area with degreaser and sugar soap
- Wipe surface down with grease and wax remover
- Sand the area with 120grit sandpaper until uniformly dull (to give the primer a surface to bite into), wash or vacuum o remove dust.
- Mask off the area *I am NOT removing deck hardware...this is controversial, but I will do this in time and it is unnecessary given the bedding compound tends to ooze out beyond the footprint of the hardware anyhow.
- Final wipe down with grease and wax remover
- Apply 2 coats of primer, sand with 220g between and after
- Wash or vacuum to remove dust.
- Wipe surface down with grease and wax remover
- Apply 2-3 coats of top coat.
- Mask and apply single coat of Kiwi Grip to non skid areas. Mask radiused areas with 3M stretchy tape.
- Apply new vinyl "Nonsuch" decals to the cabin sides (the pattern was developed by an enterprising owner some years ago)
 |
| Crack filled and sanded |


