UPDATE 10/2/17
It worked!!
Result of engine soundproofing.
8/11/16
The vibrations from the Westerbeke 35D3 cause a large amount of noise in the cabin of my NS30U. Running the engine makes the environment in the cabin rather unpleasant, you certainly wouldn't hold a conversation under power, let alone invite anyone to relax below or have a nap.
The main reason for this, as I have discovered through research, is that the area under the cockpit is a collection of large flat plywood and fibreglass panels that resonate with vibration from the motor, despite the rubber engine mounts.
The largest culprits are the plywood panel separating the engine area from the cabin (behind the stairs), the sole of the cockpit, the cockpit hatches, and the plywood panels on the starboard side of the engine that form the storage cabinet and enclosure for the fuel tank.
Short of building a contained engine box, which would be almost impossible given the irregularity of interface between the plywood panels and the cockpit sole, the placement of the raw water inlet and wet exhaust, I needed to find a solution that absorbed the vibration.
A moment to discuss this...the droning noise in the cabin is caused by vibration, not 'engine noise'. The engine is not particularly 'noisy'...the exhaust is contained in the wet system, the air intake noise is minimal, and the engine is in excellent tune. The noise I'm experiencing is akin to being inside a large drum, everything is vibrating, you can feel it in the palm of your hand...from the cockpit sole and hatch covers, to the doors on the cabin cupboards and the fuel tank.
So how do you stop vibration? One way, which doesn't involve lining the entire engine area with expensive mats, has been developed by a company called Silent Running
Silent Running SR1000 Marine coating
Silent Running SR 1000 is a VOC compliant, water based product that is easily applied with a spray application. This sound damping paint can be used on the interior of the hull, stringers, engine beds, bulkheads, ceilings, hatches, engine boxes, bow thrusters, HVAC units, duct work, generator covers and mechanical enclosures. SR 1000 is designed as a “permanent” coating and has excellent adhesion to all metal, fiberglass, and wood. The key to Silent Running is to build it up, in multiple coats, to a minimum of 40mil final application thickness (depending on thickness of substrate).
Silent Running will dry to the touch in roughly one hour, at which time you can re-apply. Clean up with water is quick and easy. Silent Running dries to an off-white color, brightening any enclosed areas. Comparatively, Silent Running is easier to apply than the standard foam tiles, provides a reduced amount of time for application, and is designed as a permanent coating.
Silent Running is more effective than traditional damping methods, not only due to its chemical properties, but also because of the complete adhesion to the substrate regardless of curves or angles. Silent Running will not absorb water or chemicals and will endure the extreme conditions in the marine environment. Typically Silent Running is roughly half the cost of traditional foam products and a third the weight. Silent Running weighs 8 oz. per sq. ft. at a 50 mil final application thickness.
Silent Running can withstand temperatures from -30F up to 250F. With typical applications for which Silent Running was designed, we provide a 6-8 dBa reduction (roughly 60% of the noise) with the minimum application thickness recommended based on substrate thickness. This is a significant reduction. The effects of noise and vibration on crew members would be reduced considerably, the working environment improved overall and the life of the vessel extended.
(courtesy Silent Running website)
Check out this demonstration:
Video Demonstration
I've ordered 4l of the SR1000 product, and will apply it starting at the engine mounting stringers, working away from the engine in all directions until I have the required coats of every surface within the engine room/sub-cockpit area. This will include some tricky areas like the underside of the cockpit seats and vertical surfaces.
The side-benefit of this project is that the entire sub-cockpit area will be painted white, which will brighten and clean up it's appearance. It will also form part of the larger project to re-organise the electrical wiring and fuel hoses running around this area.
I will add to this post as the project begins.
UPDATE 28/11/16
Before image of the hull floor adjacent the engine:
Following the application of the Silent Running SR1000 at a rate of about 1 litre per square meter:
Because SR1000 can be painted over with any water-based paint, I intend on adding a couple coats of Zinsser 123 on top to further brighten the engine room and make it easy to clean.
Next is to wait receipt of my foil-lined foam pads, which I will apply to all the vertical surfaces and the underside of the cockpit, to further absorb noise.
UPDATE: 4/12/16
I've completed the first panel installation of the closed cell, foil-faced, adhesive backed sound proofing mat. This product is approx. 10mm thick, with a robust foil facing and adhesive back. I plan on augmenting the overhead installations with some additional high-strength spray glue.
This panel is a removable panel that live to port of the engine, allowing the port side locker to be used for stowing fenders etc, without the risk of them rolling down toward the engine.
Built from marine ply, painted, and then covered in the sound proofing material:
 |
| 6 meters should be enough |
 |
| The edges and joints are sealed with aluminium HVAC tape, which is very sticky. |
 |
| The completed panel |
Update: 12/12/16
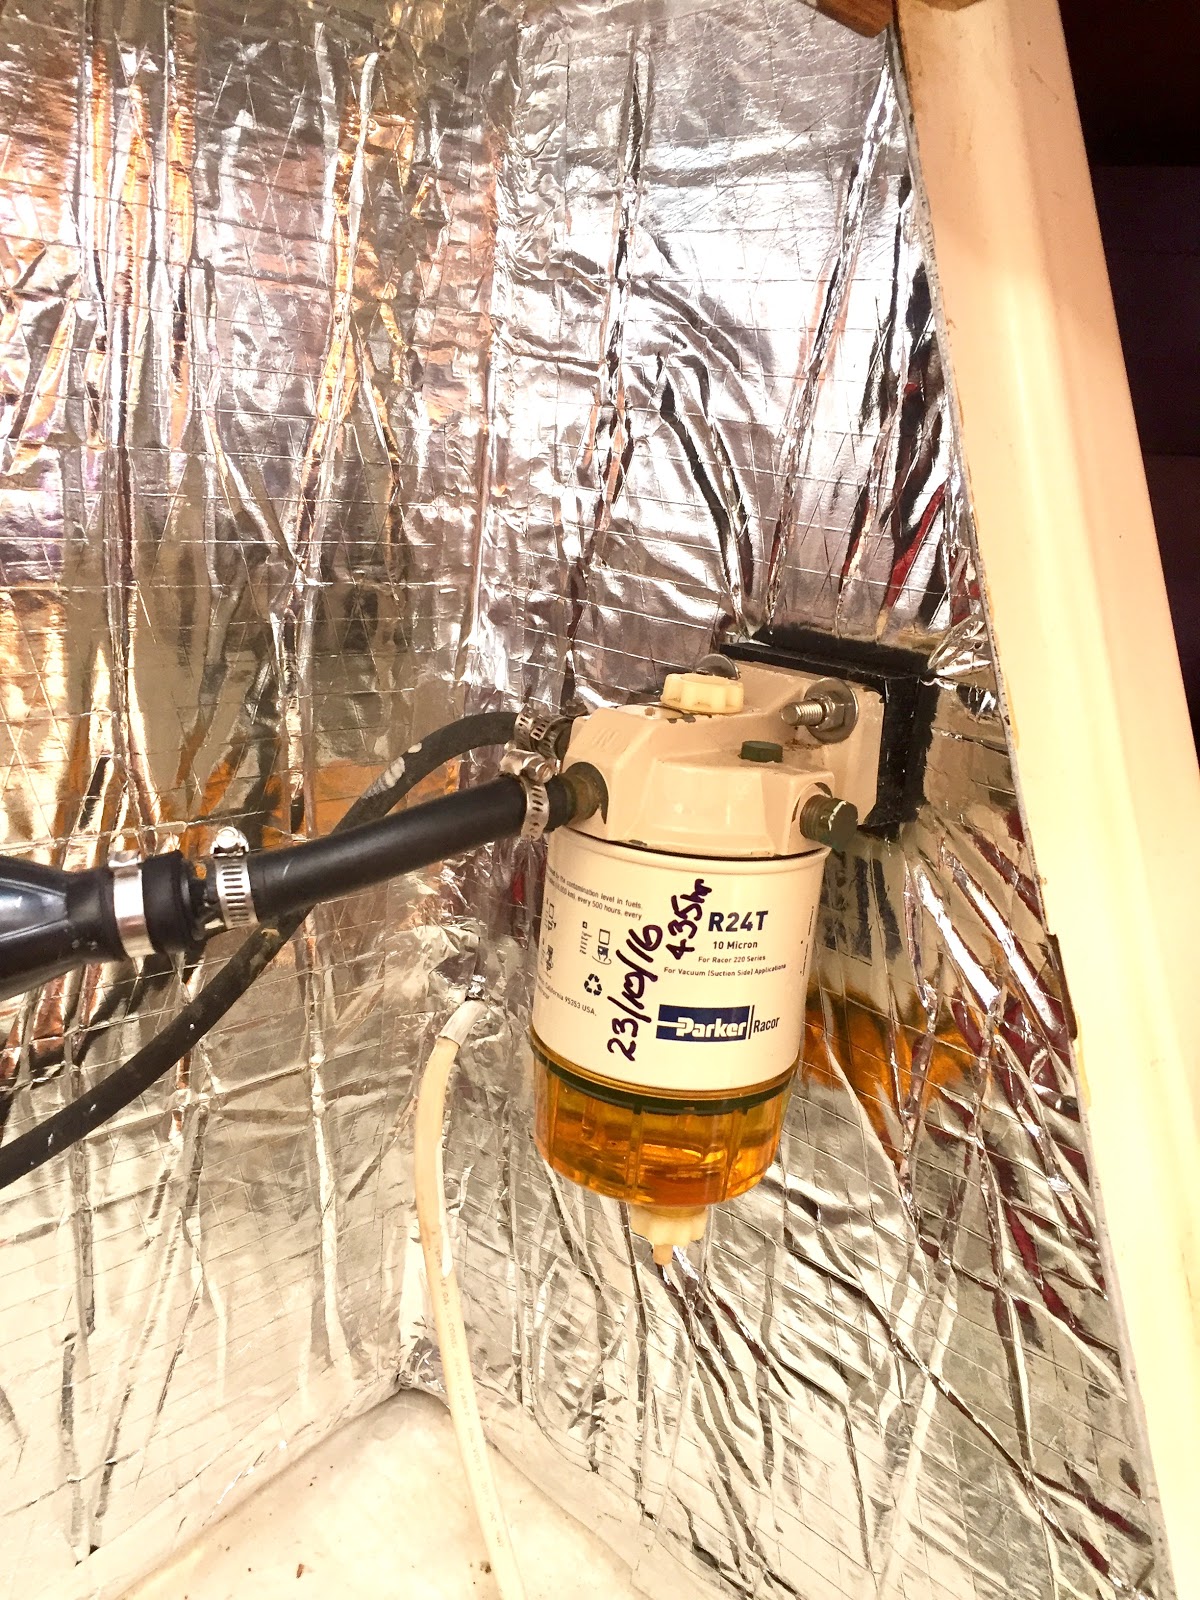
The soundproofing is gathering pace now, with the engine room hatch complete and the area around the fuel filter complete. This requires some careful measuring and patience.